


AV/DC/HD/VGA Multi Interface Display 7 Inch PC Second Screen Raspberry Pi Display for Pi3 Pi4 AIDA64 Switch
AV/DC/HD/VGA Multi Interface Display 7 Inch PC Second Screen Raspberry Pi Display for Pi3 Pi4 AIDA64 Switch
SPECIFICATIONS
Application: Desktop
Black and White Response Time: 3 ms
Bracket Type: Ordinary Bracket
Brand Name: POWKITO
Brightness: 500cd/m
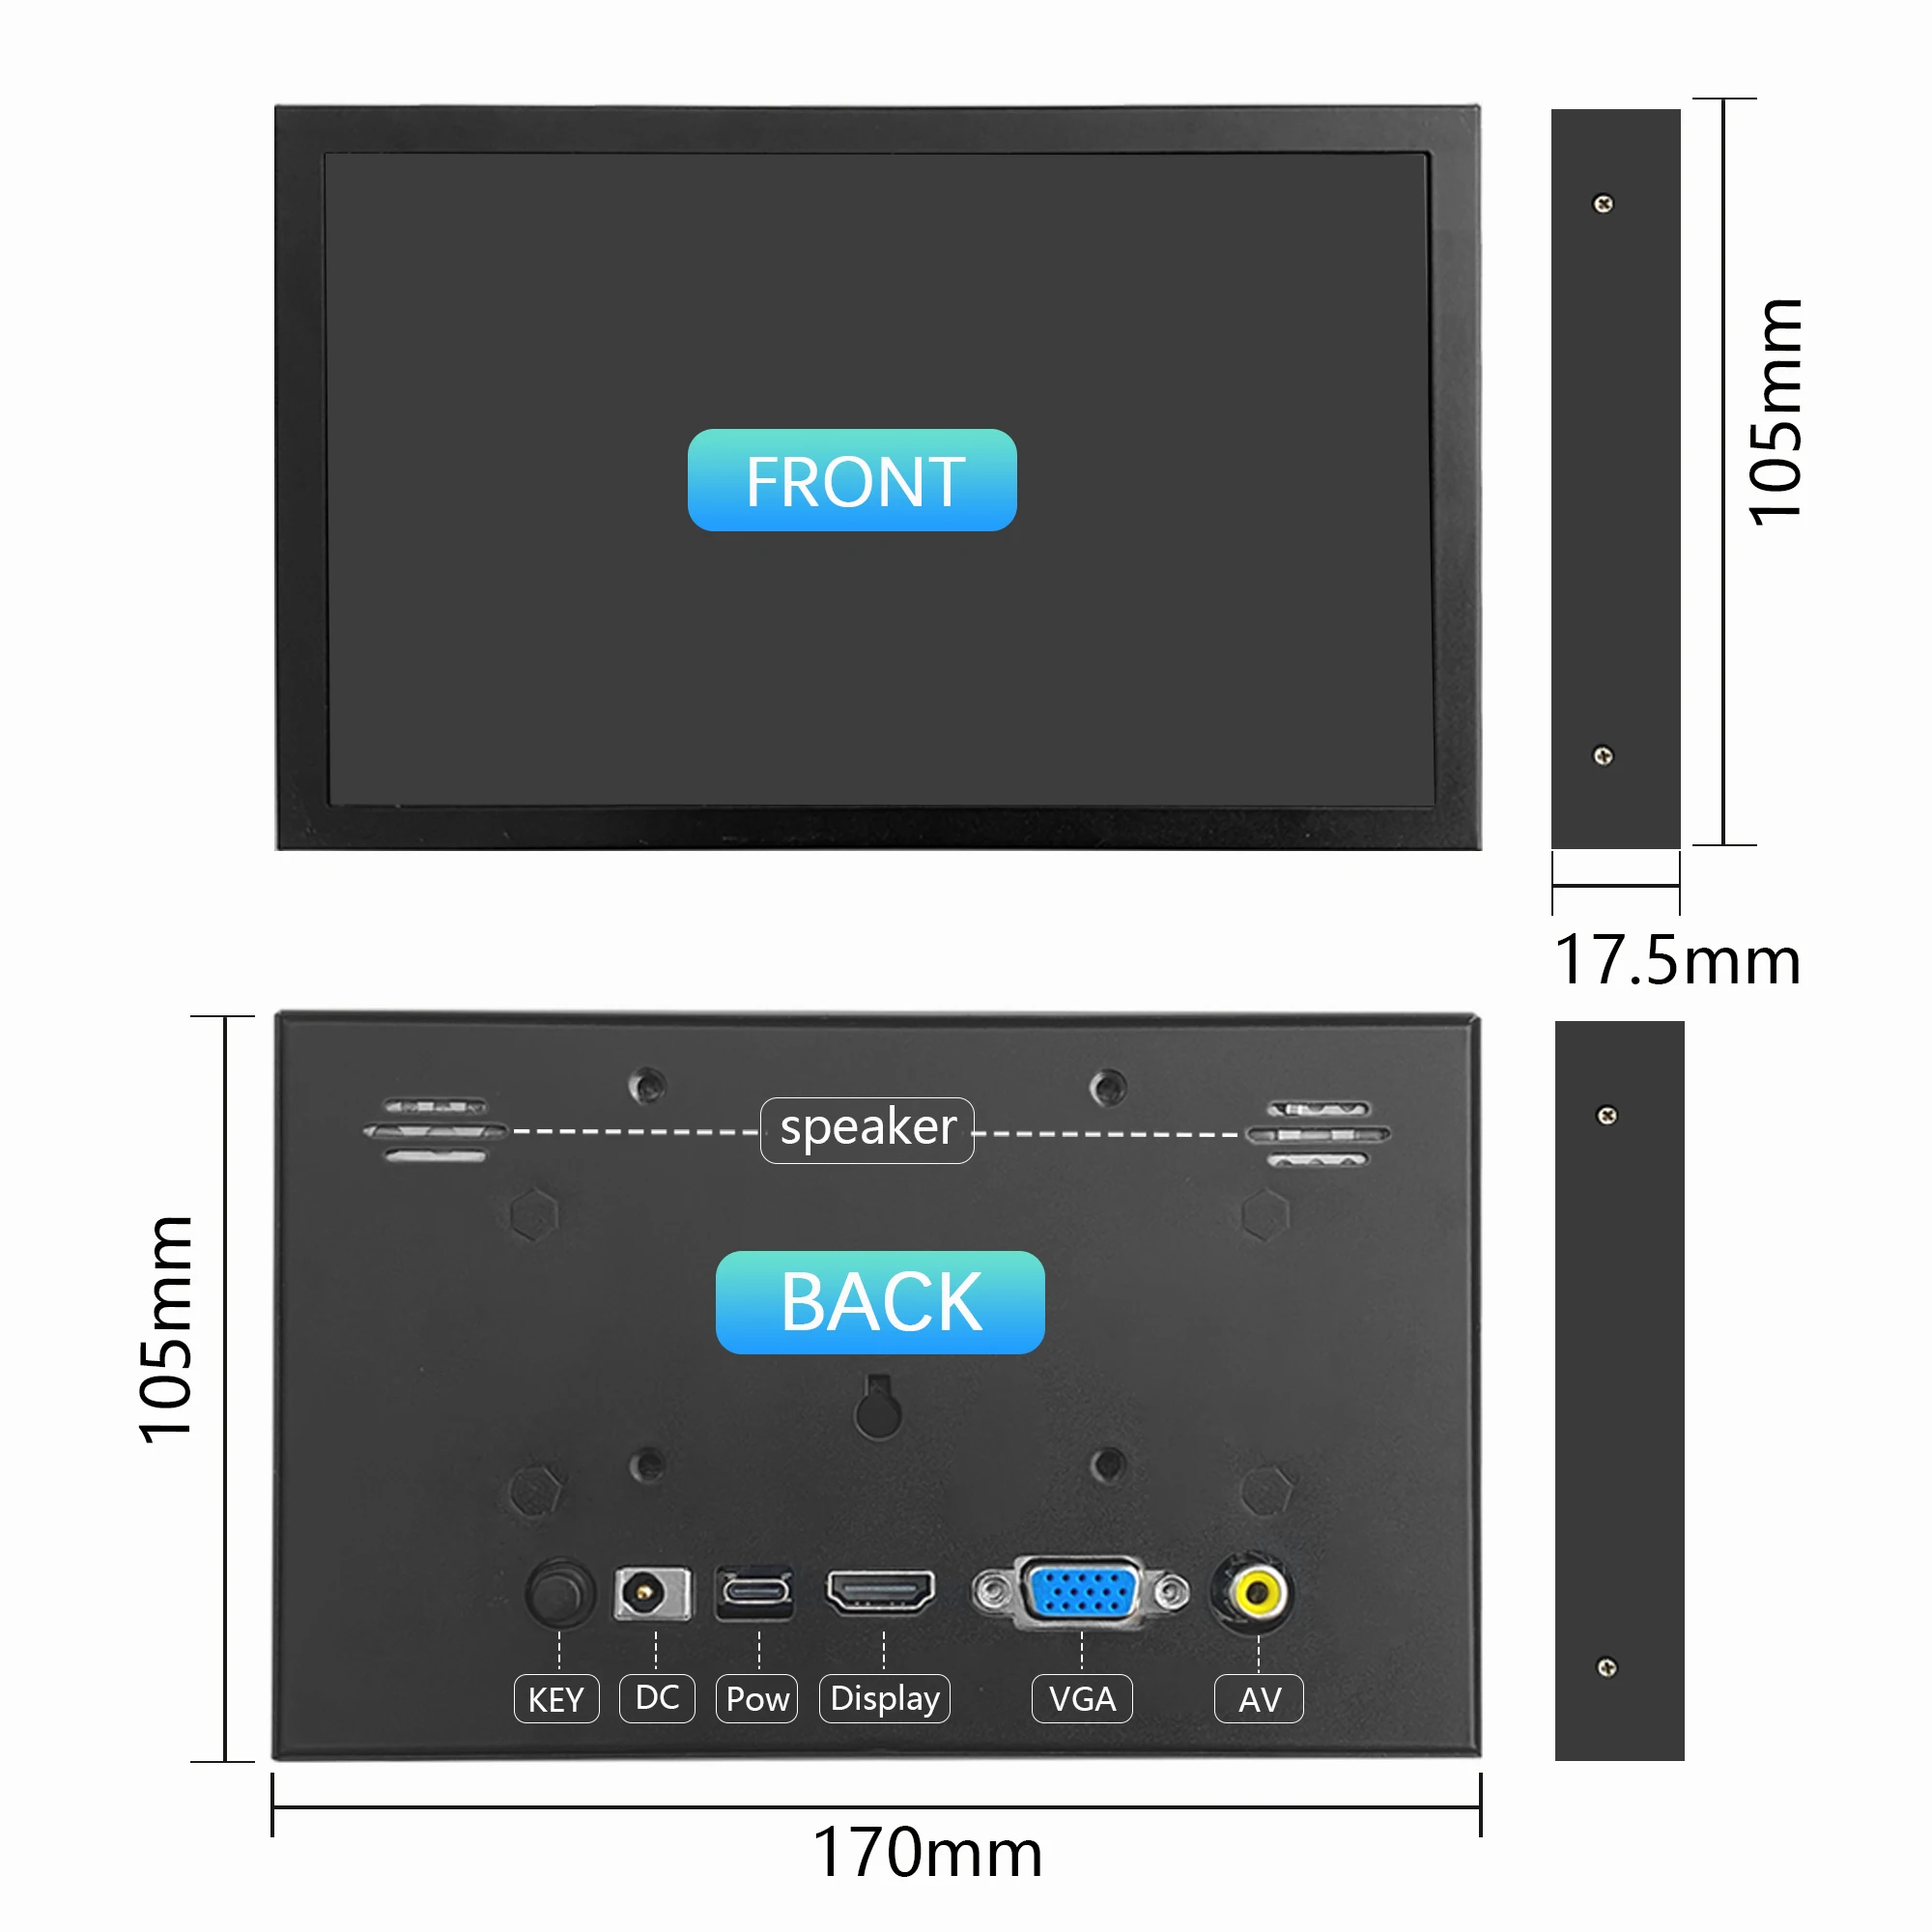
Built-in Speaker: Yes
Certification: CE,RoHS
Contrast Ratio: 800:1,650:1
Display Ratio: 16:10
Display Size: 7
Feature: Usb port,Speaker
High-Dynamic Range: NONE
High-concerned chemical: None
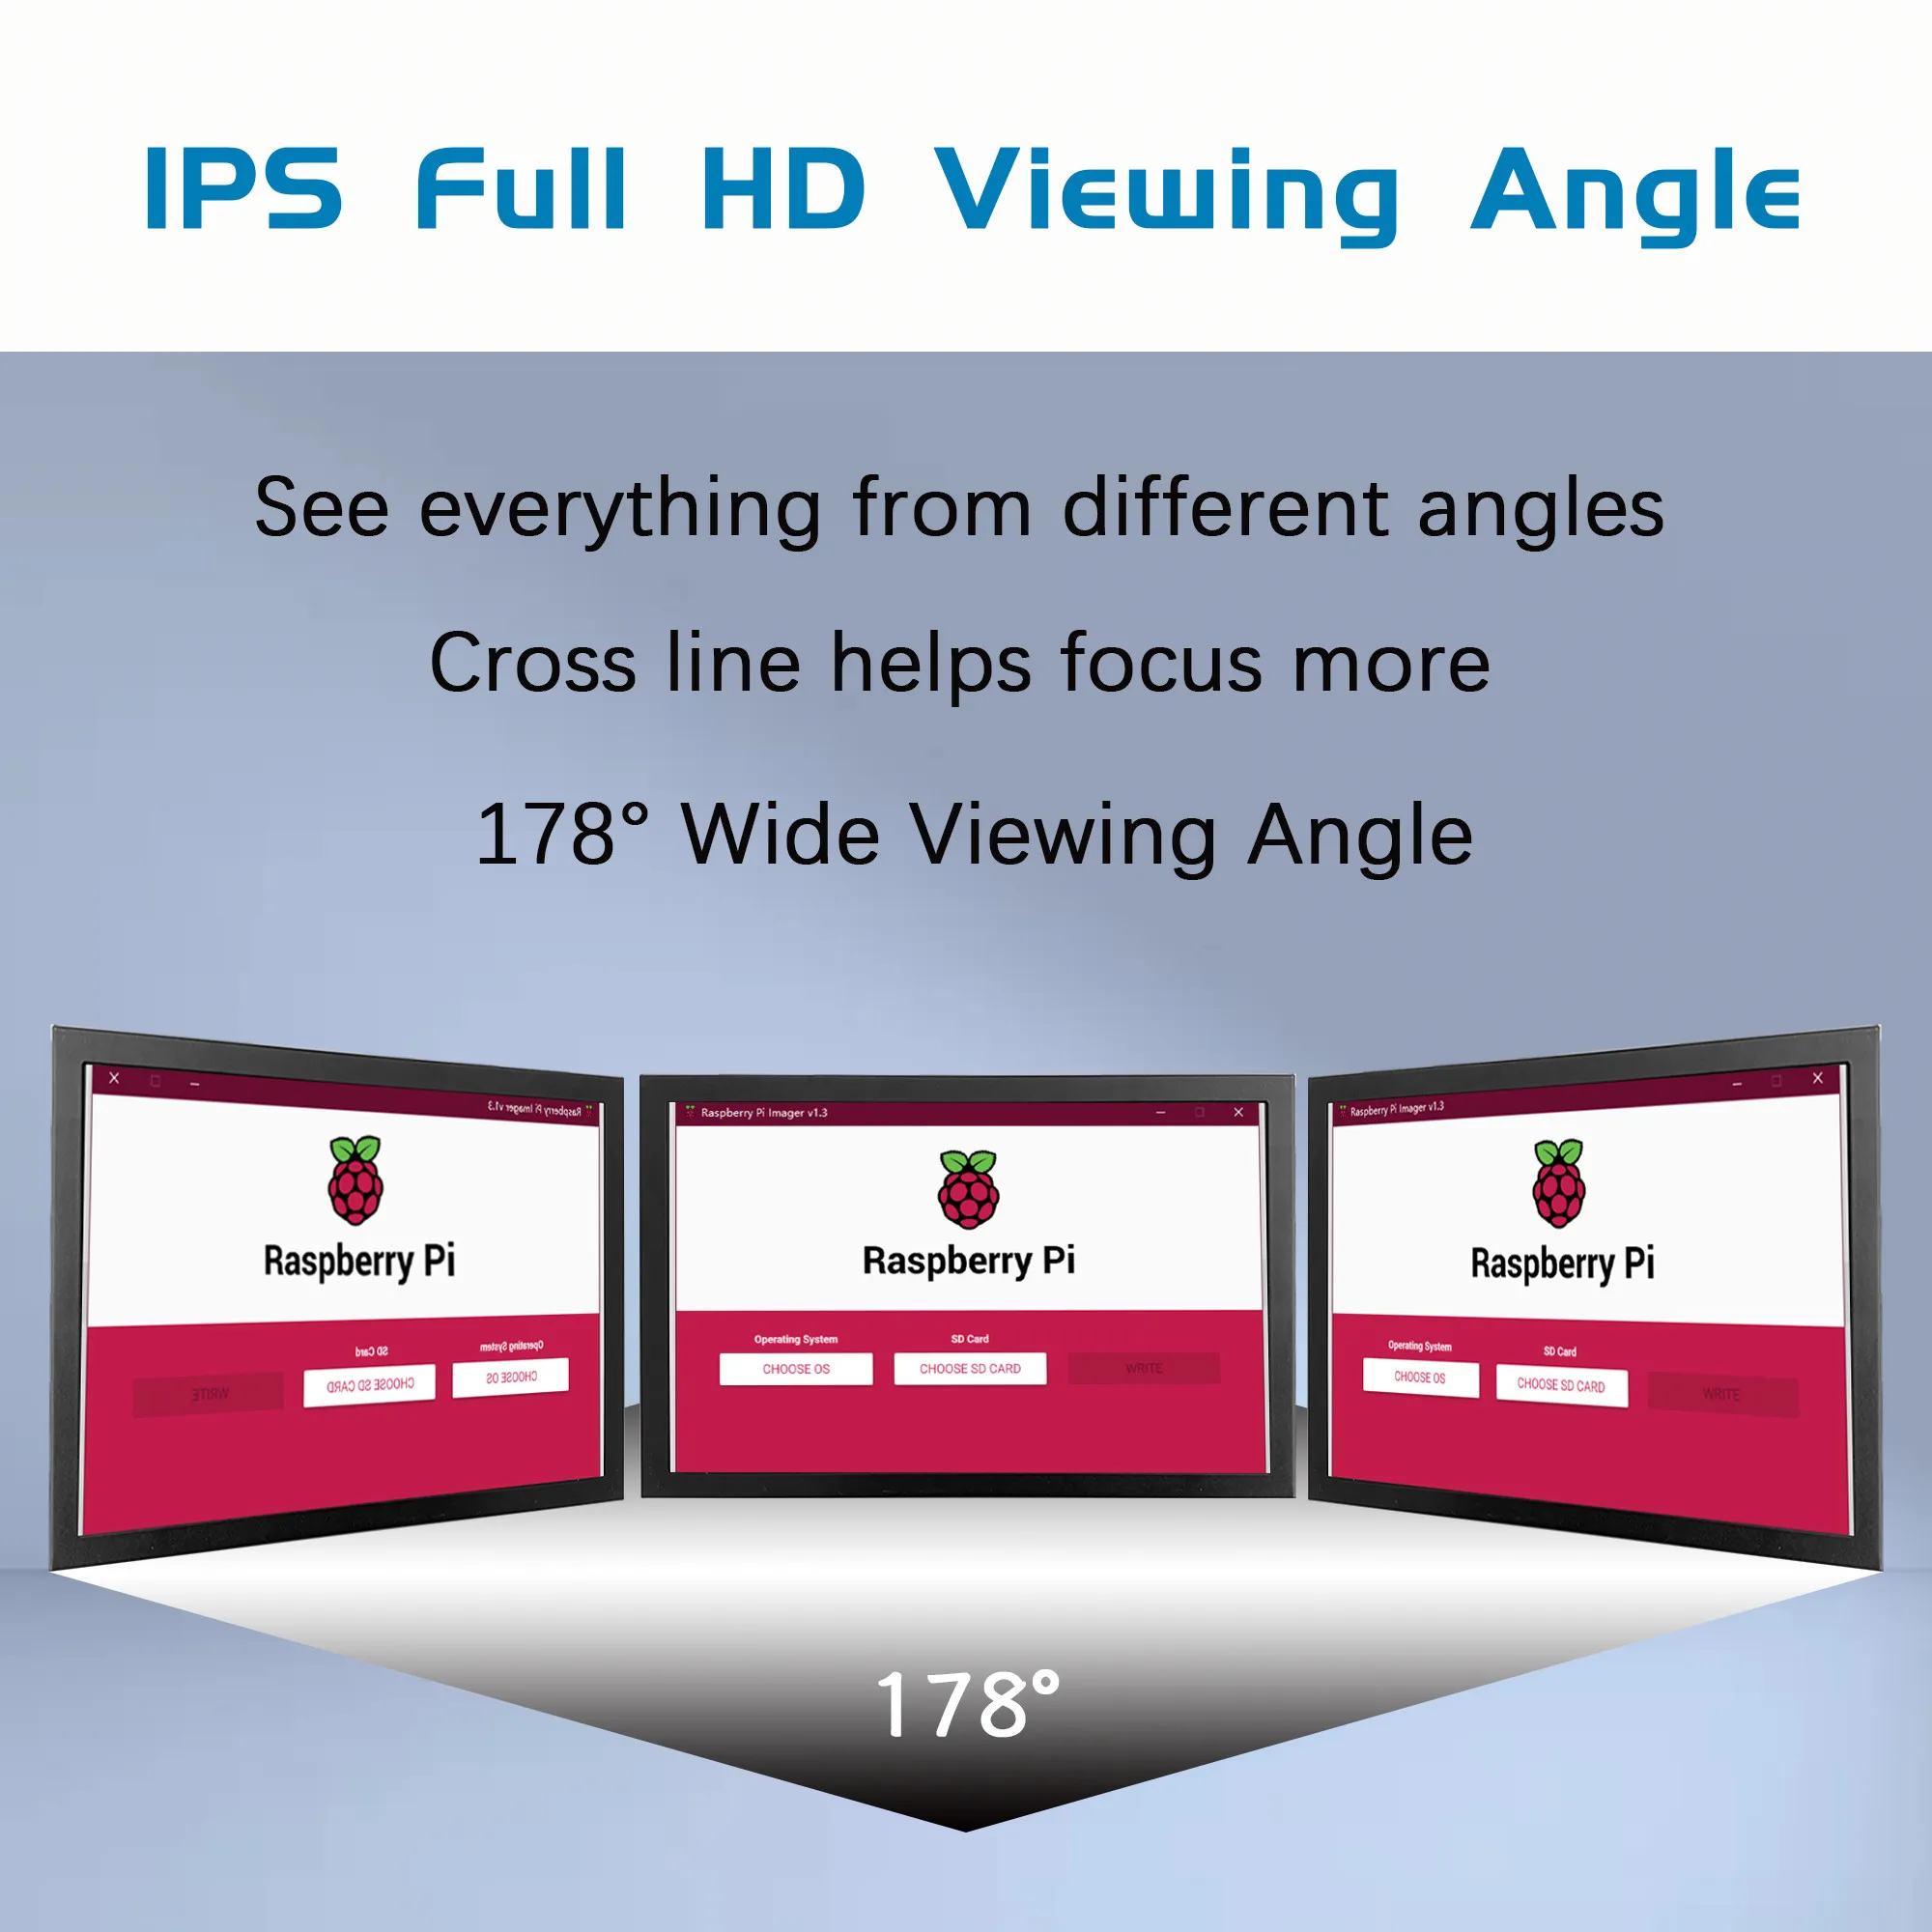
Horizontal Viewing Angle: 178°
Interface Type: HDMI-Compatible
Launch Date: 2016
Origin: Mainland China
Panel Type: IPS
Pixel Pitch: 0.217mm
Plug Type: US Plug
Products Status: STOCK
Refresh Rate: 60 Hz
Resolution: 1024x600,1024*600
Response Time: 3ms
Screen Type: LCD
Screen curvature: NONE
Screen surface: Glossy
Size: 7inch
Vertical Viewing Angle: 178°
View: IPS
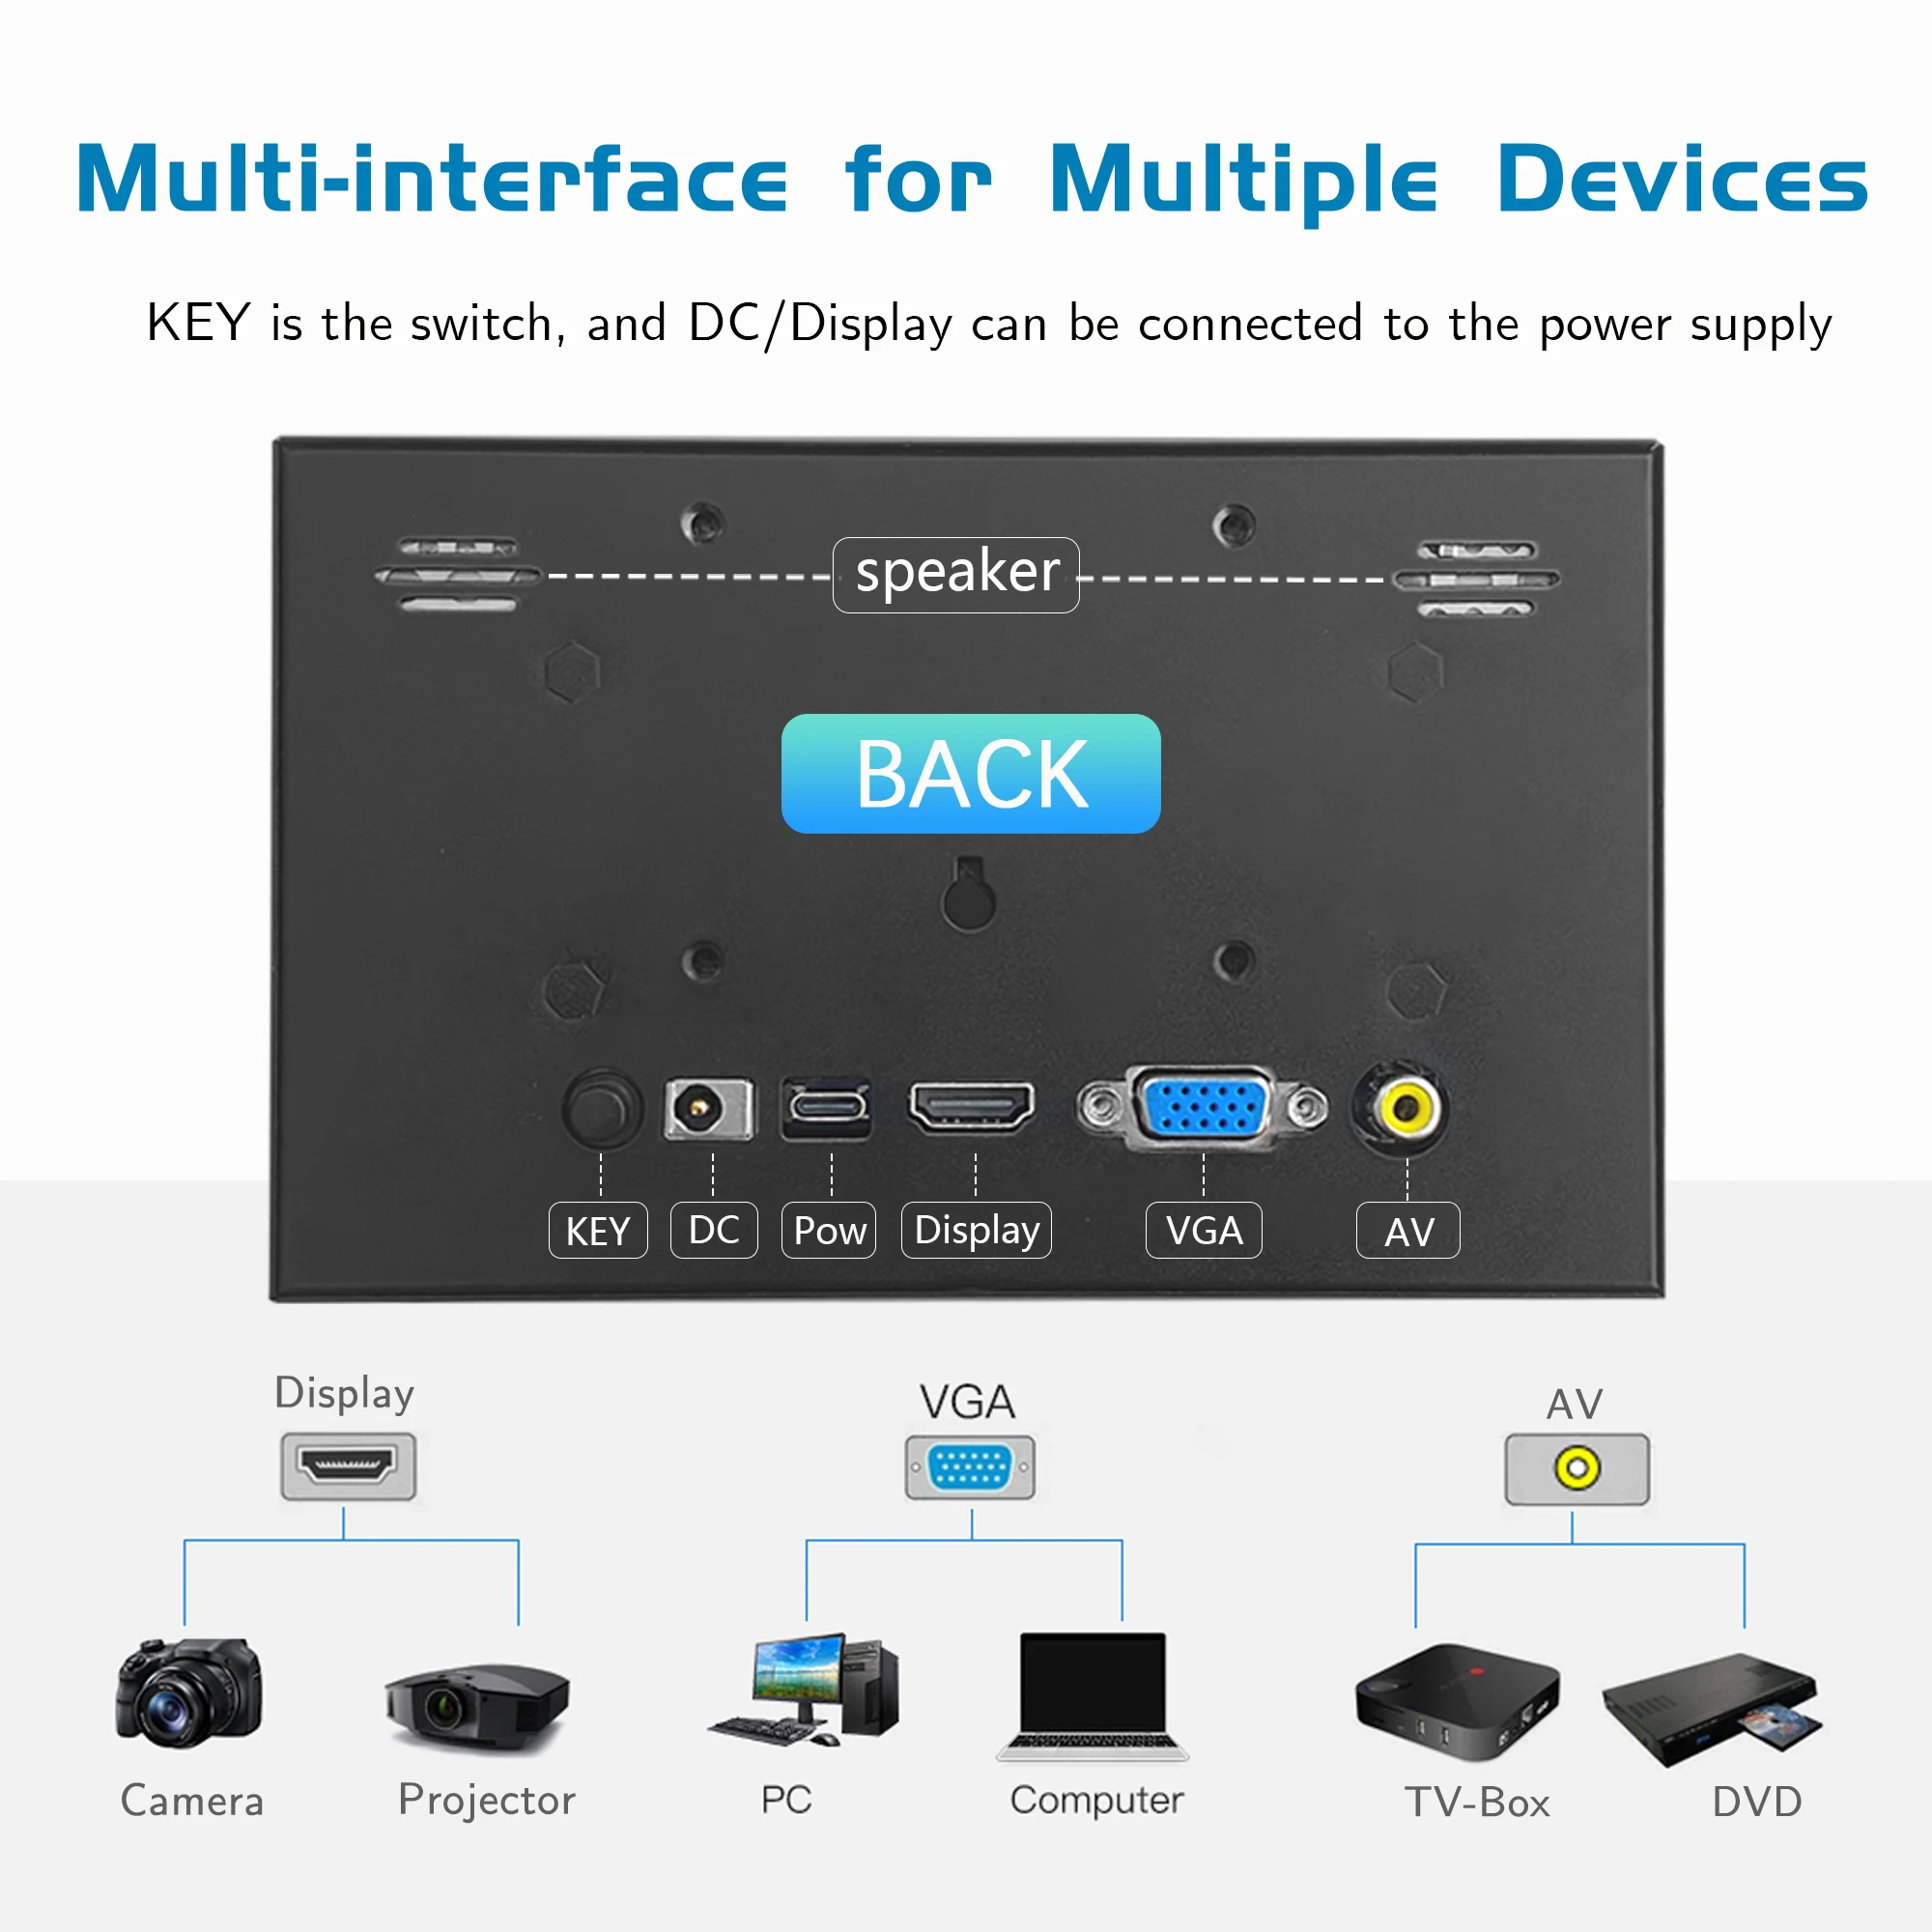
interface: VGA/AV/DC/BNC/HDMI/Micro-B
power: 5V1A
powkito Model: EM713

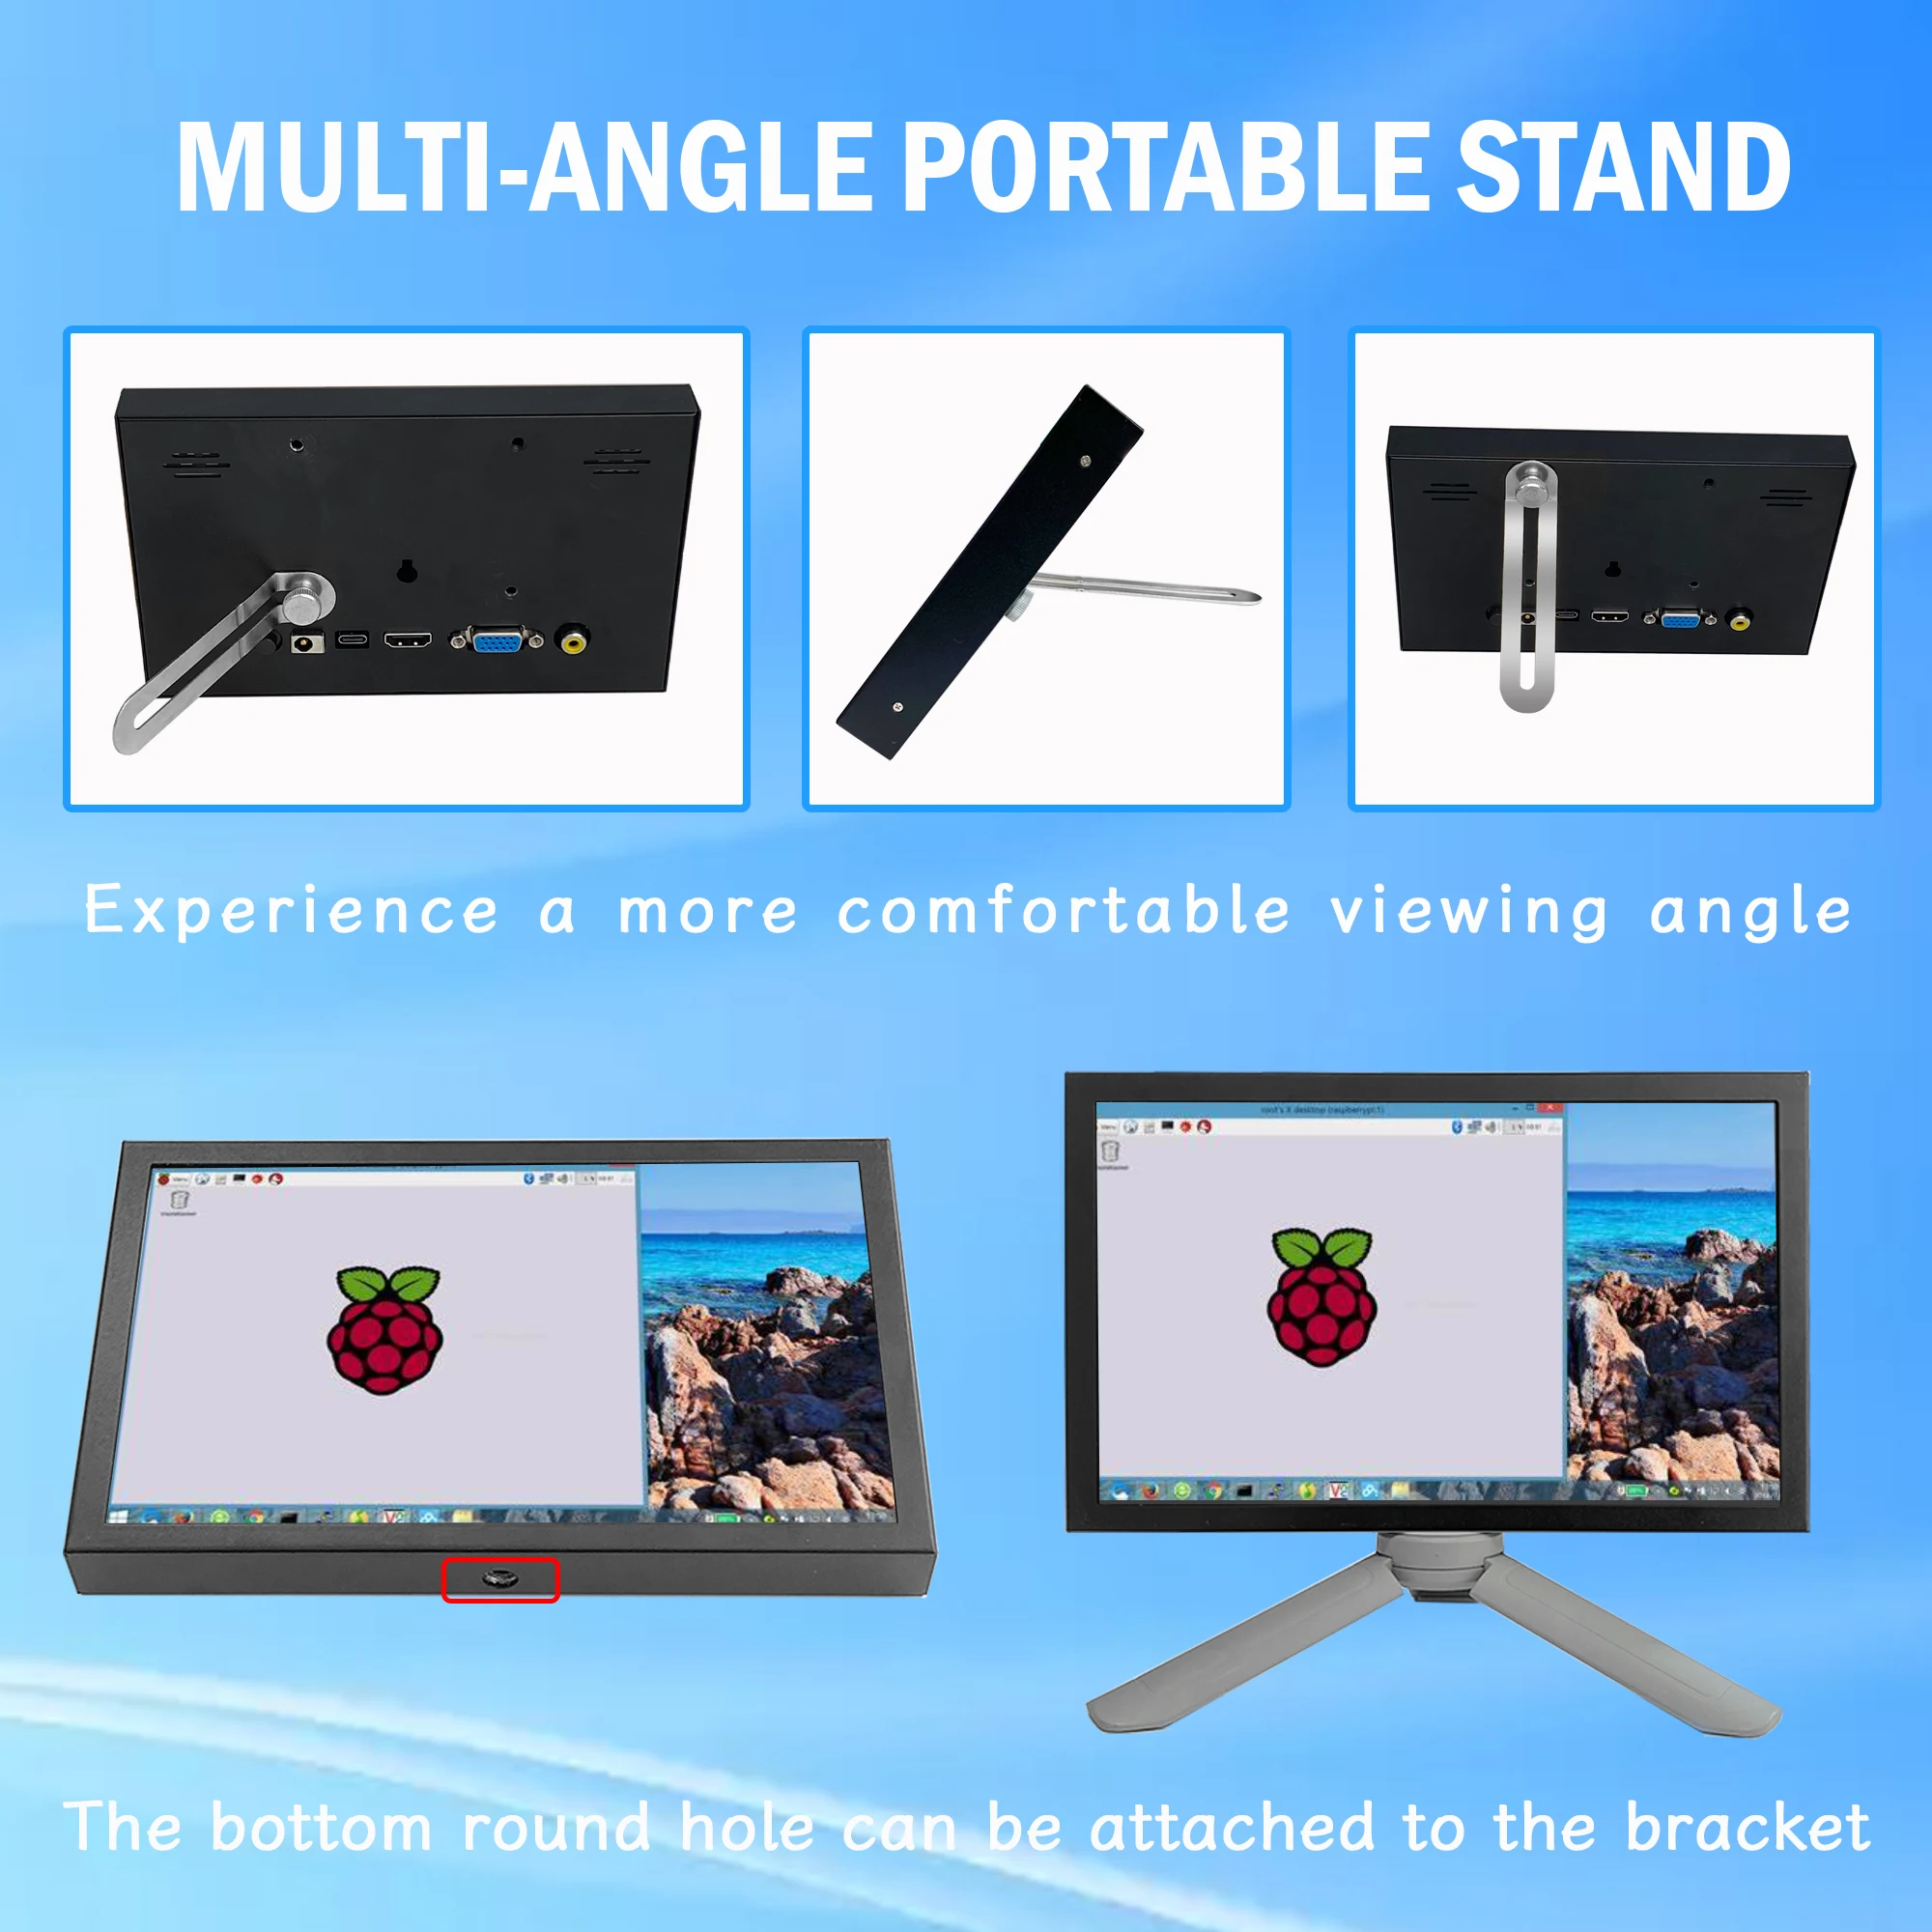
The triangular bracket is only for display purposes
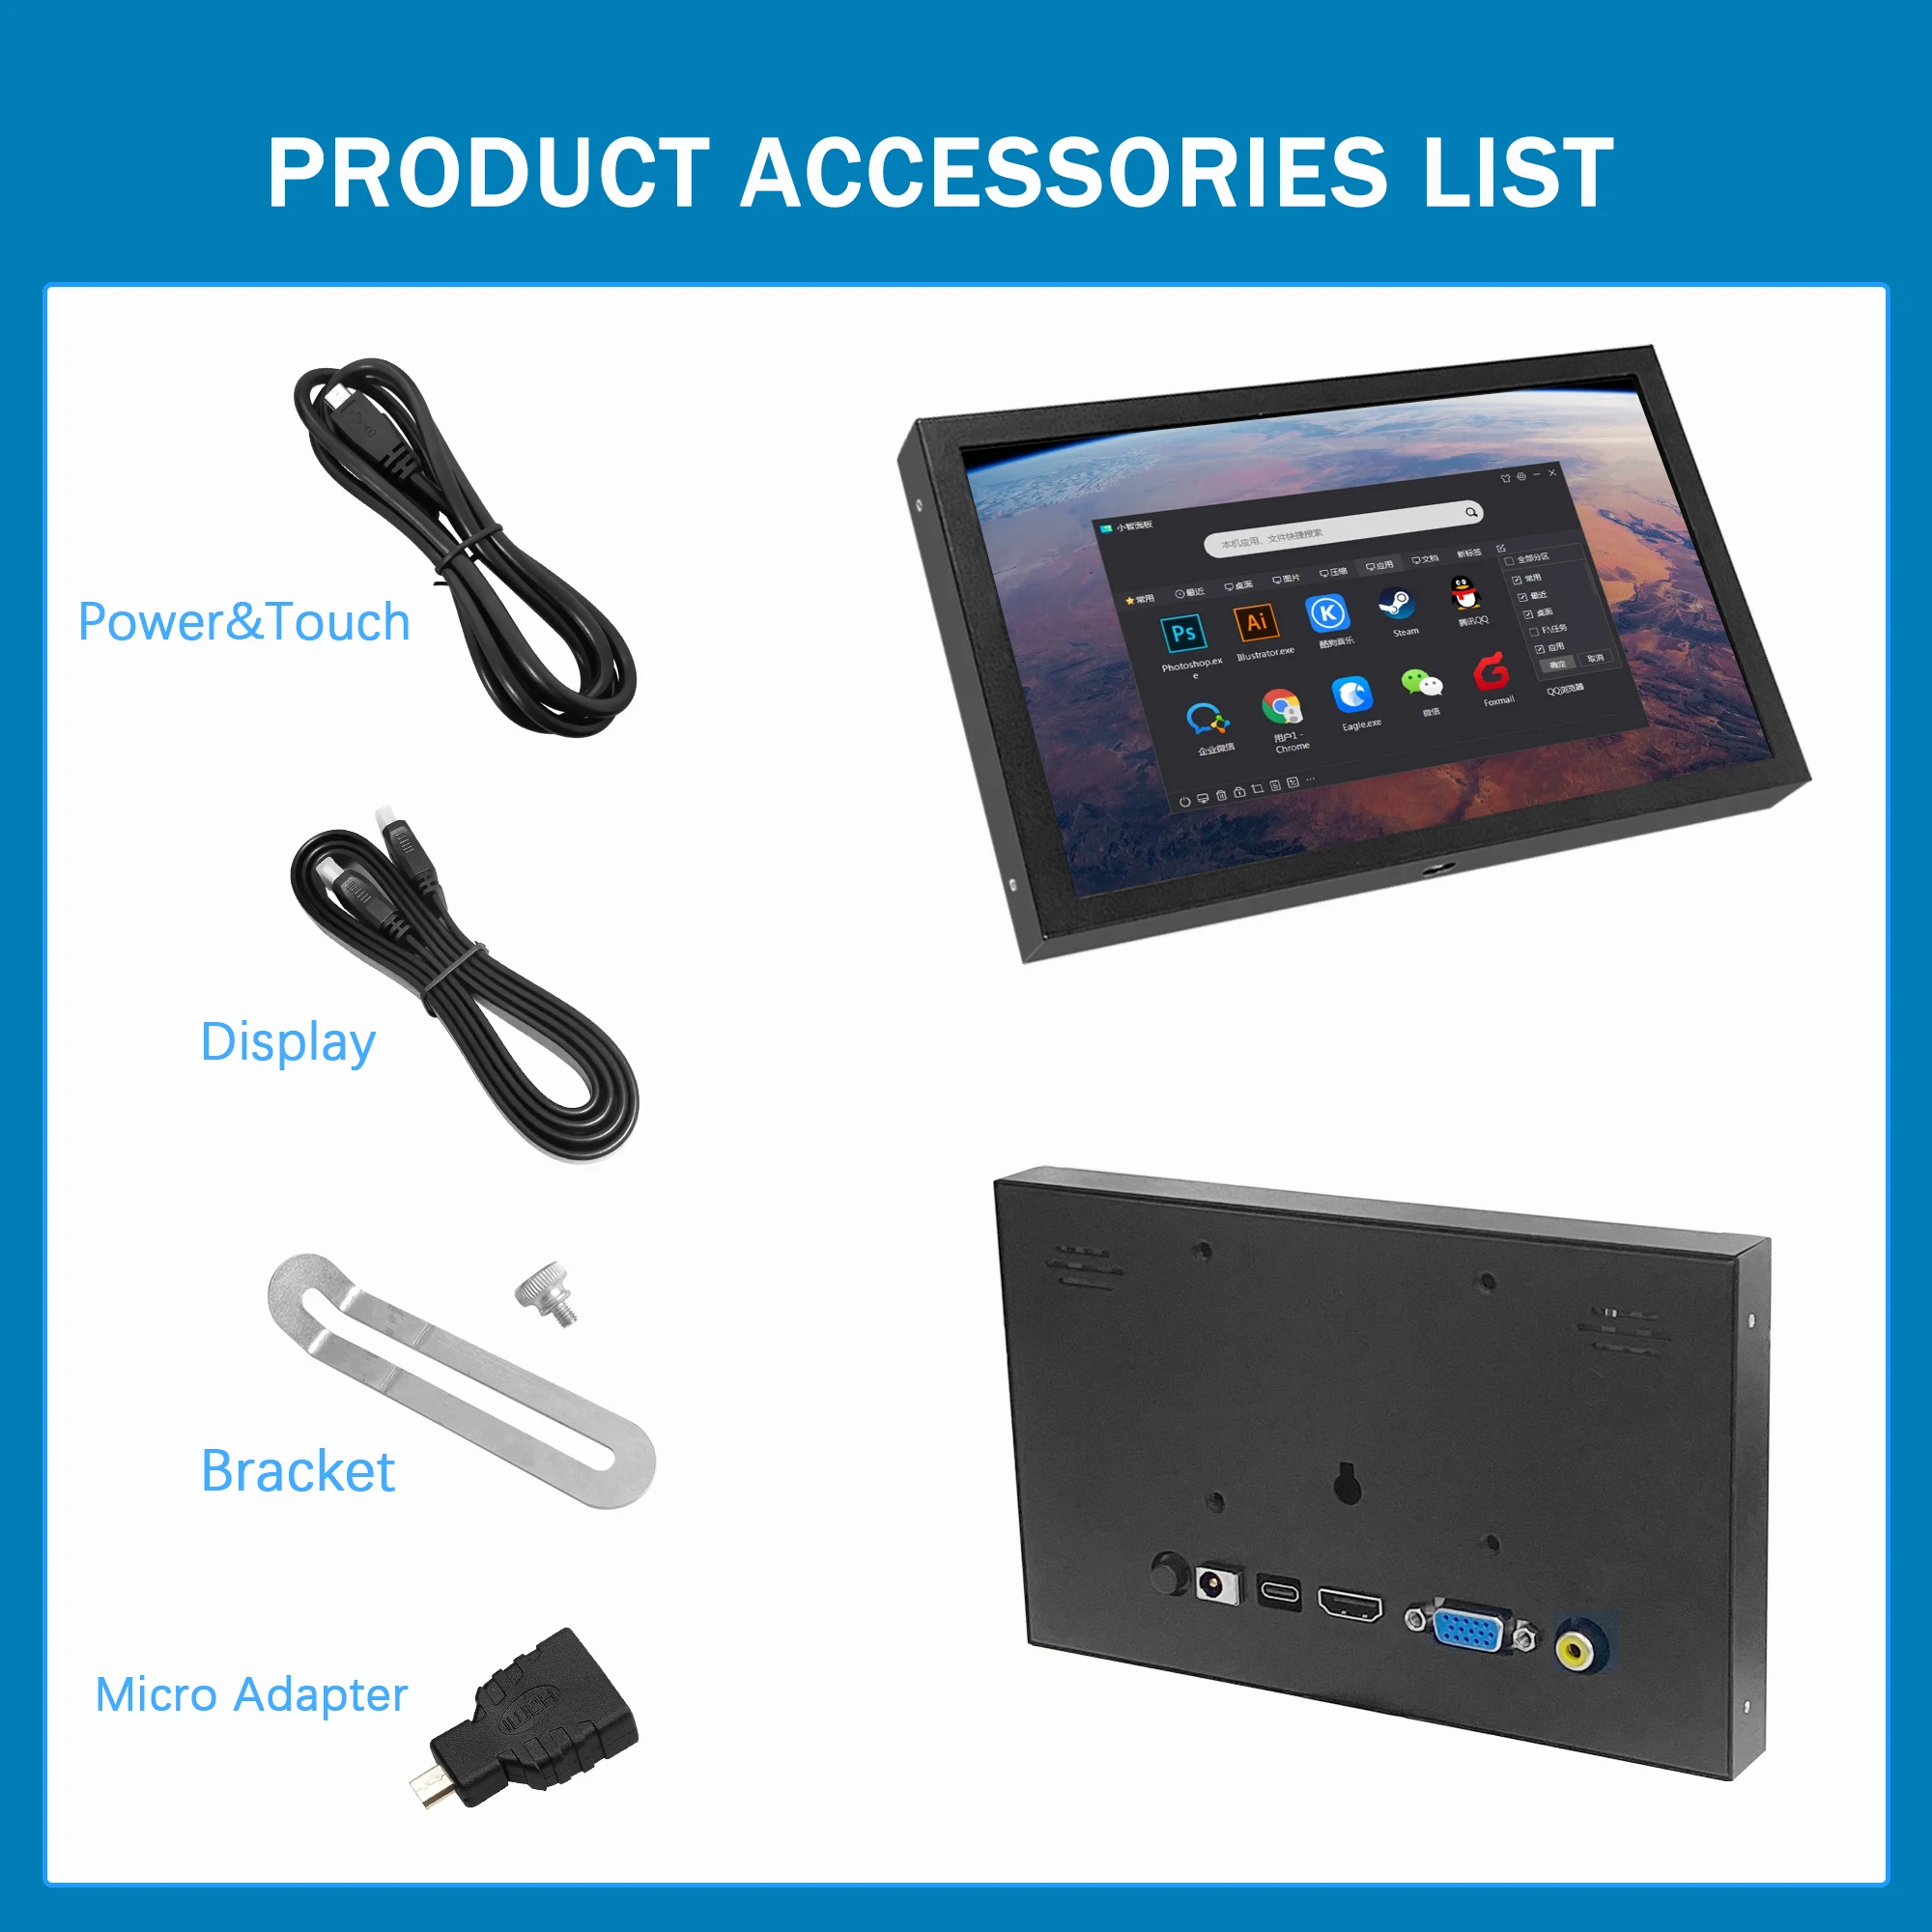
Actual accessories refer to the accessories table
If you have any questions
Contact customer service
【Product description】
●.7inch standard display, 1024 × 600 Hardware resolution, Up to 1920x1080 Software configuration resolution.
●.Support backlight control alone, the backlight can be turned off to save power.
●. Support Raspberry Pi, BB Black, Banana Pi and other mainstream mini PC.
●.Can be used as general-purpose-use HDMI monitor, for example: connect with a computer HDMI as the sub-display .
●.Used as a raspberry pi display that supports Raspbian, Ubuntu, Kali-Linux, Kodi, win10
●.Work as a PC monitor, support win7, win8, win10
●.CE, RoHS certification.
【Product Parameters】
●.Size: 7.0 (inch) ●. Resolution: 1024 × 600 (dots) ●. SKU: EM713
●. Touch: No touch ●.Dimensions: 166.5*124.12 (mm) ●.Weight: 560 (g)
How to use with Raspbian/Ubuntu Mate/Win10 IoT Core System
Step 1, Install Raspbian official image
Download the latest image from the official download.
Install the system according to the official tutorial steps.
Step 2, modify the “config.txt”
After the programming of Step1 is completed, open the config.txt file of TF card root directory and
add the following code at the end of the file, save and eject Micro SD Card safely:max_usb_current=1
hdmi_force_hotplug=1
config_hdmi_boost=7
hdmi_group=2
hdmi_mode=87
hdmi_drive=1
display_rotate=0
hdmi_cvt 1024 600 60 6 0 0 0
Step 3, Drive the 7inch HDMI with the Raspberry Pi
Insert the TF Card to Raspberry Pi, connect the Raspberry Pi and LCD by HDMI cable;
connect USB cable to one of the four USB ports of Raspberry Pi,and connect the other end of the USB cable to the USB port of the LCD;
then supply power to Raspberry Pi; after that if the display and touch both are OK,it means drive successfully (please use the full 2A for power supply).
How to use as PC monitor
Connect the computer HDMI output signal to the LCD HDMI interface by using the HDMI cable
Connect the LCD's USB Touch interface (Either of the two MicroUSB) to the USB port of the device
If there are several monitors, please unplug other monitor connectors first, and use LCD as the only monitor for testing.
Couldn't load pickup availability
Low stock: 5 left
View full details


